


In my photography, I'm always looking for new ways to light up a scene, especially since I do a lot of adventuring outdoors where light and shadows are inconsistent, and also I shoot a lot indoors where sometimes there just isn't enough light to illuminate my subject. I know a number of landscape photographers use bright headlights in their work, primarily to focus their manual lenses when it's dark - but I thought, what if I use them for my indoor photography as well? So I bought a couple work headlights to try out!
Back when I was in school, we had this one assignment where we had to paint with light. Basically you use a long exposure on a dark scene, and the use mobile light sources to illuminate the subjects. I wish I had a night headlight back then, because I could have used the hands-free system to add an extra light source - significantly cutting down on image production time!
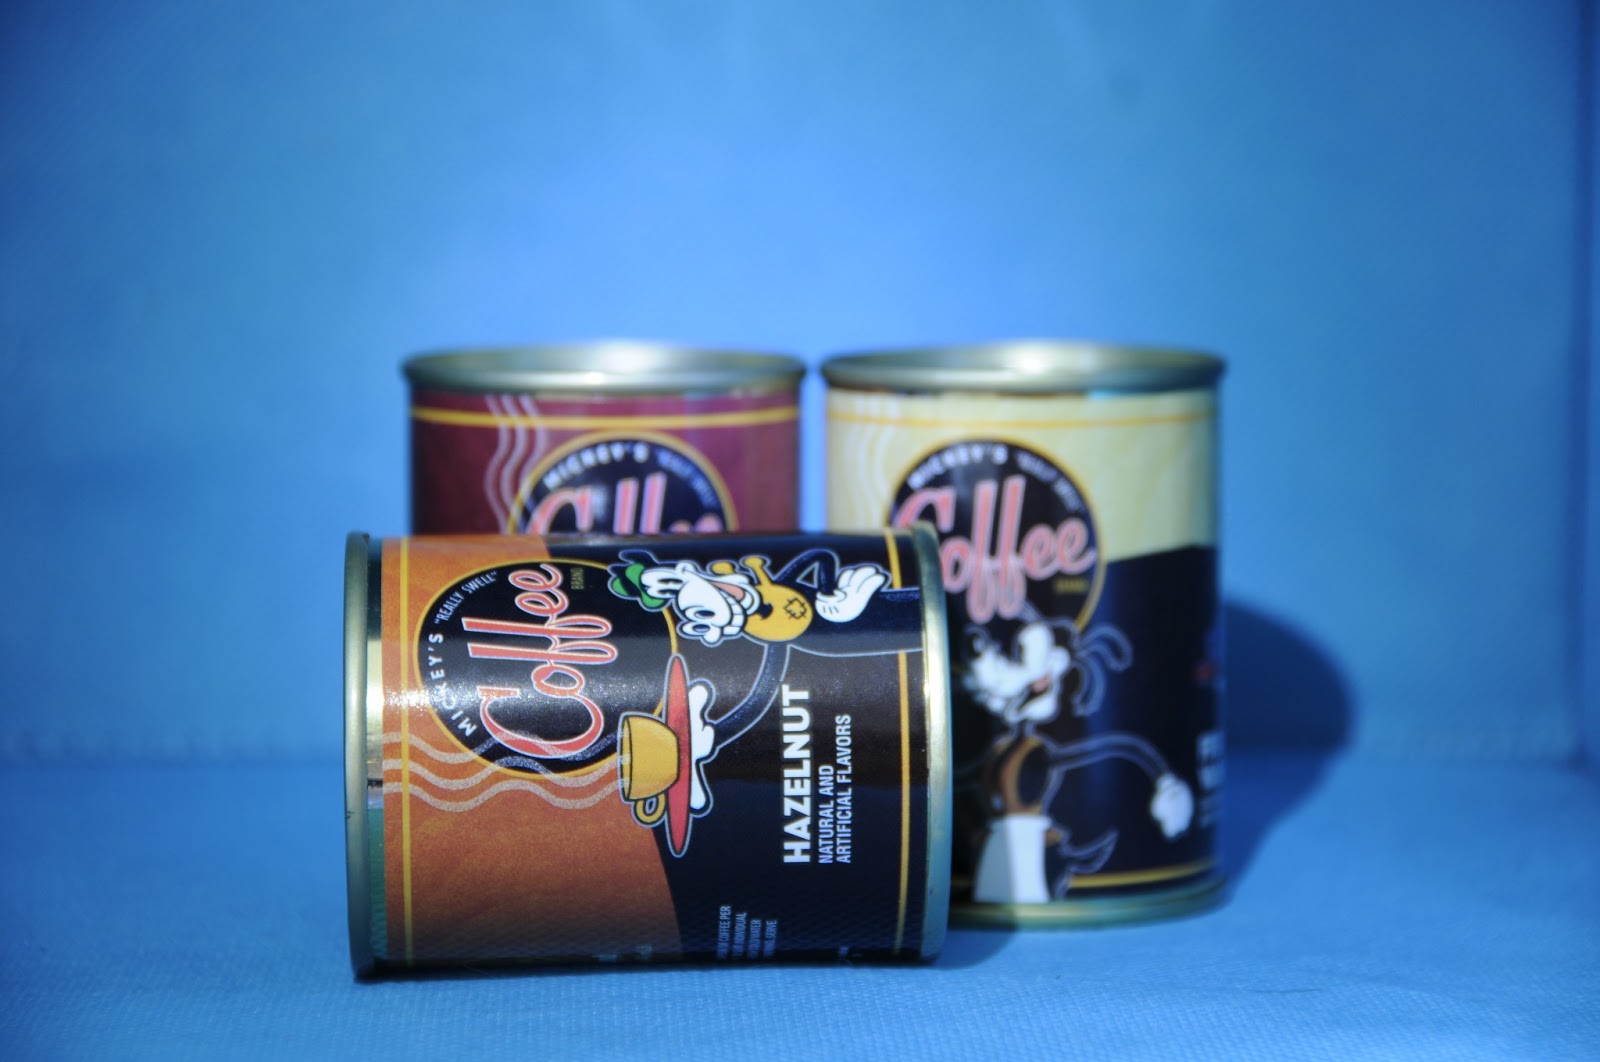
Unfortunately, I didn't get to try that this week. I did build a little photo studio and try to shoot some miniature still lives using headlights.
I didn't have any headlights, so I ran to Wal-Mart and picked up two made by the Energizer Bunny. They make a couple different types, which I liked, since not all my light sources should uniform. I also liked that Energizer included batteries in the packages. I hate battery hunting!

The first is a single LED light, that ran me just about $5. It's good for adding a subtle light where there's an unwanted shadow, or using as a secondary light.

I like these better than regular flashlights because they are easy to position and not heavy. I can wear them on my head or wrap them around my wrists for constant control of what my light source is illuminating and where it's facing. The only problem is that they really aren't super bright.
I had to use my camera with a long shutter or wide open aperture, which is not useful for anything dynamic or that needs a larger depth of field. However, for still life pictures it worked pretty well. I'll definitely keep using my headlights, and I might start experimenting with even more light sources: desk lamps, computer screens, fireflies?
Here's a few shots I took using my new beam headlights:


I changed nothing between these two images except for the placement of the headlights. Isn't it amazing how changing the light can turn an image from calm and pretty to shadowy and dynamic? This is what I love about photography!
 |
| My favorite! |


For the first shot glass image I used this set of gels I once got for free from a photo store years and years ago. For the second, I actually used the red LED on the headlight. I think it came out pretty awesome!
 |
| I even used the headlight as a light source in this picture! |
What a difference lighting makes! So cool -thanks for the idea!
ReplyDeleteThanks! It was a lot of fun experimenting.
Delete